How to Photograph Your Planner
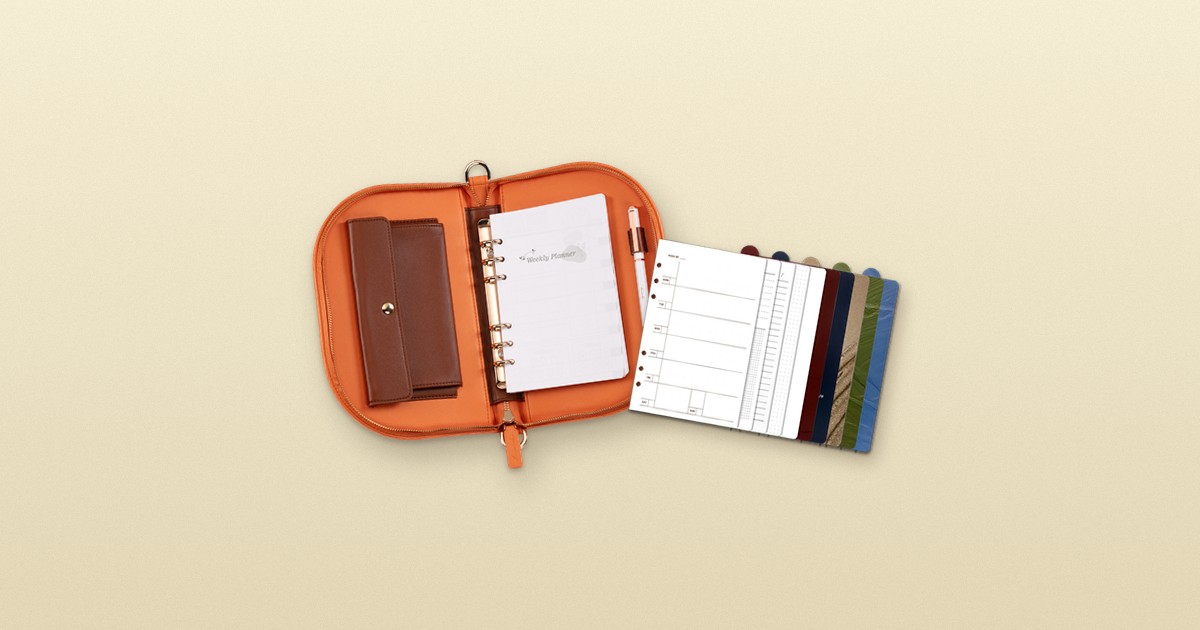
- Beautiful planner photos start with soft, natural light.
- Use simple backgrounds such as wood, linen or a clean desk.
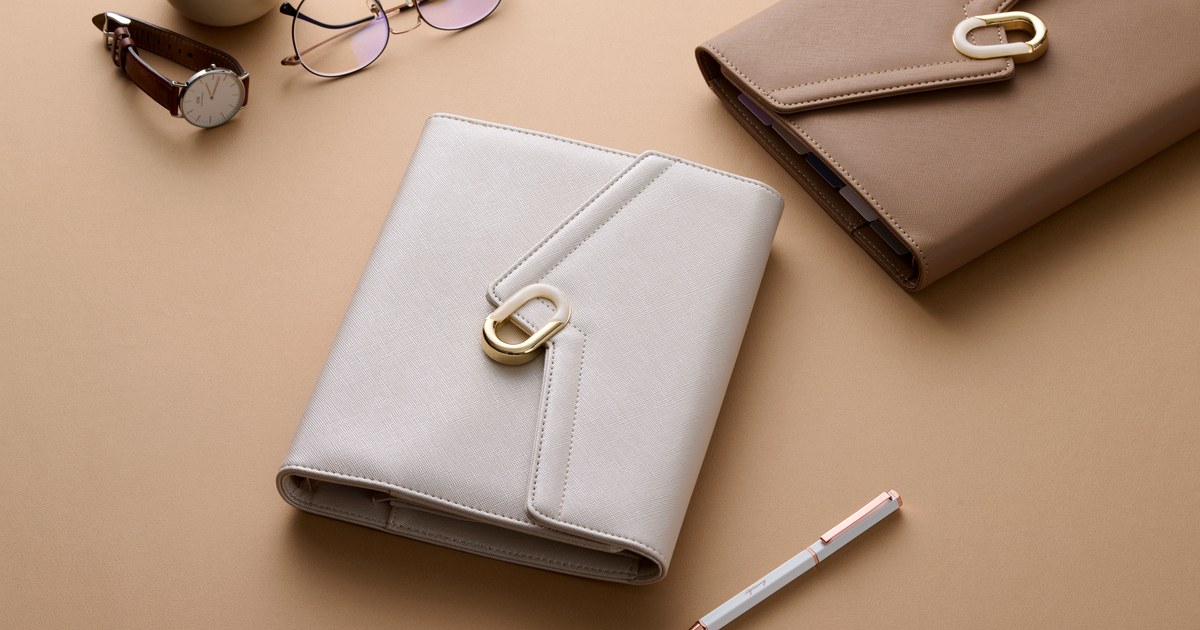
- Add a few props — coffee, a pen, flowers — without crowding the frame.
- Try flat lays, angled shots and in-hand lifestyle photos.
- Always hide private details like addresses, names and schedules.
To photograph your planner beautifully, use soft window light, a simple background and just a few props — then try flat lays, angled shots and in-hand photos. And always keep private details out of frame.
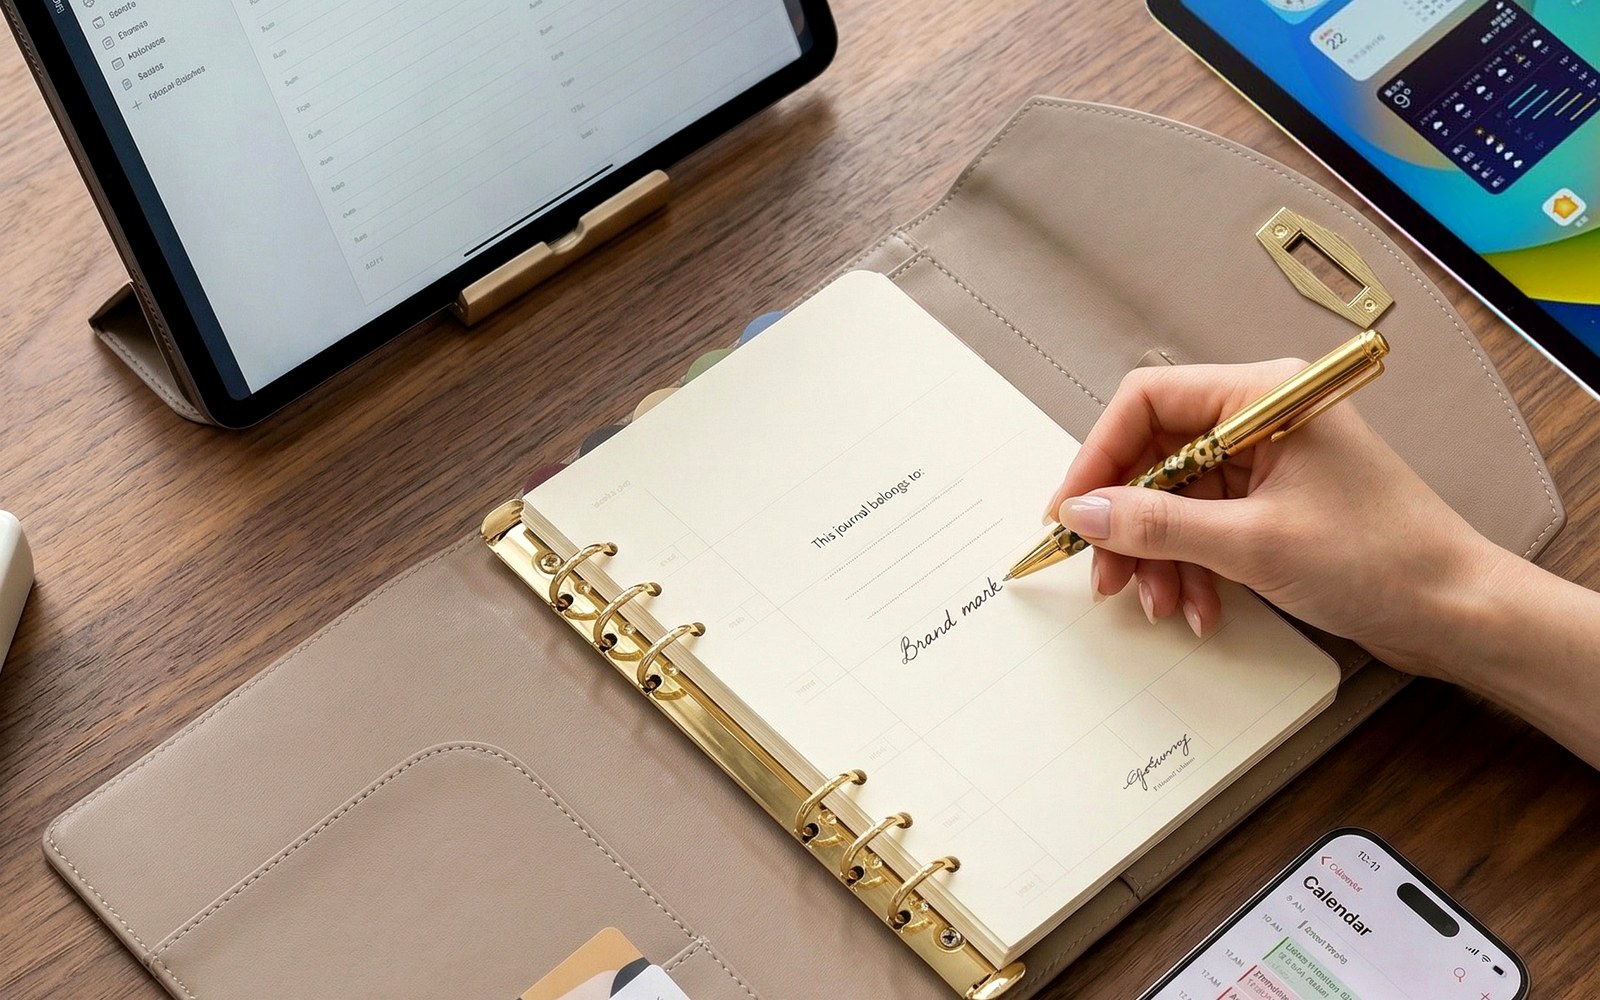
Find good light
Place your planner near a window with indirect daylight. Morning or late-afternoon light is softest. Turn off overhead lights to avoid a yellow cast, and use a white sheet of paper opposite the window to lift shadows.
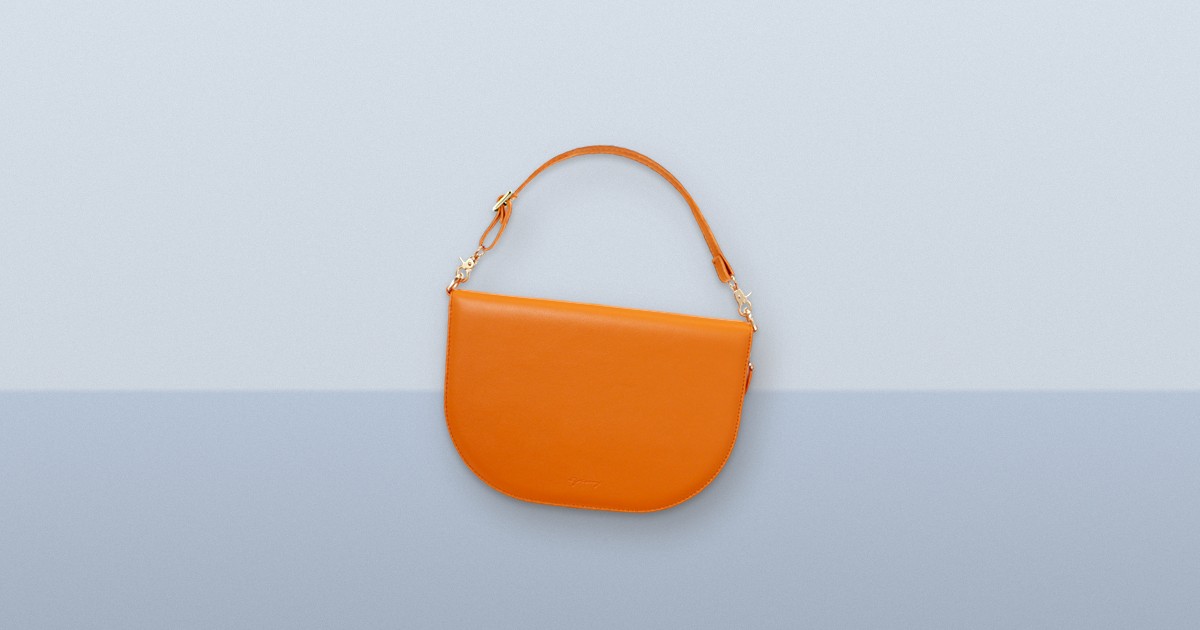
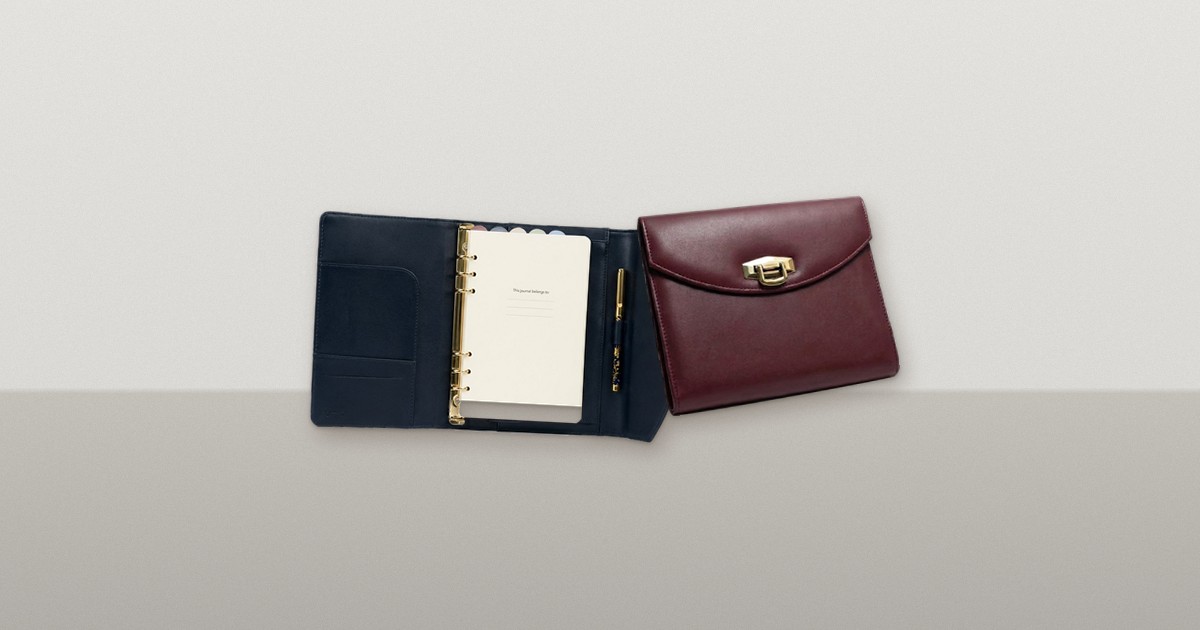
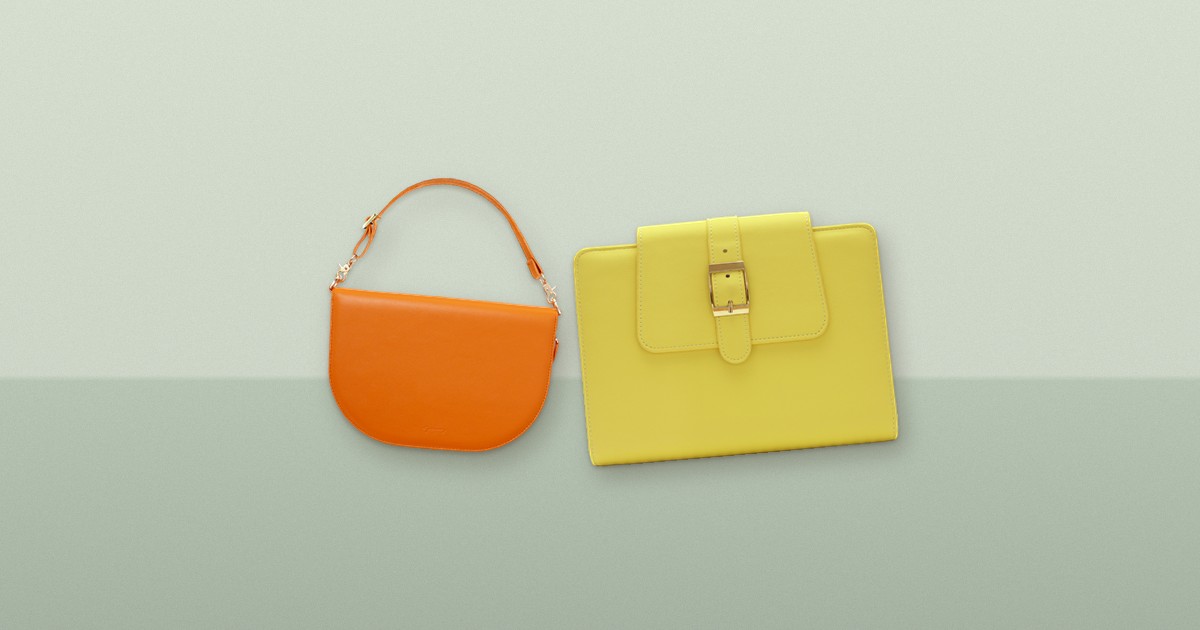
Keep the background simple
Wood tables, linen, marble or a clean desk let your planner stand out. Avoid busy patterns. If your workspace is part of the story, see A Desk Setup for Calm Planning for styling ideas.
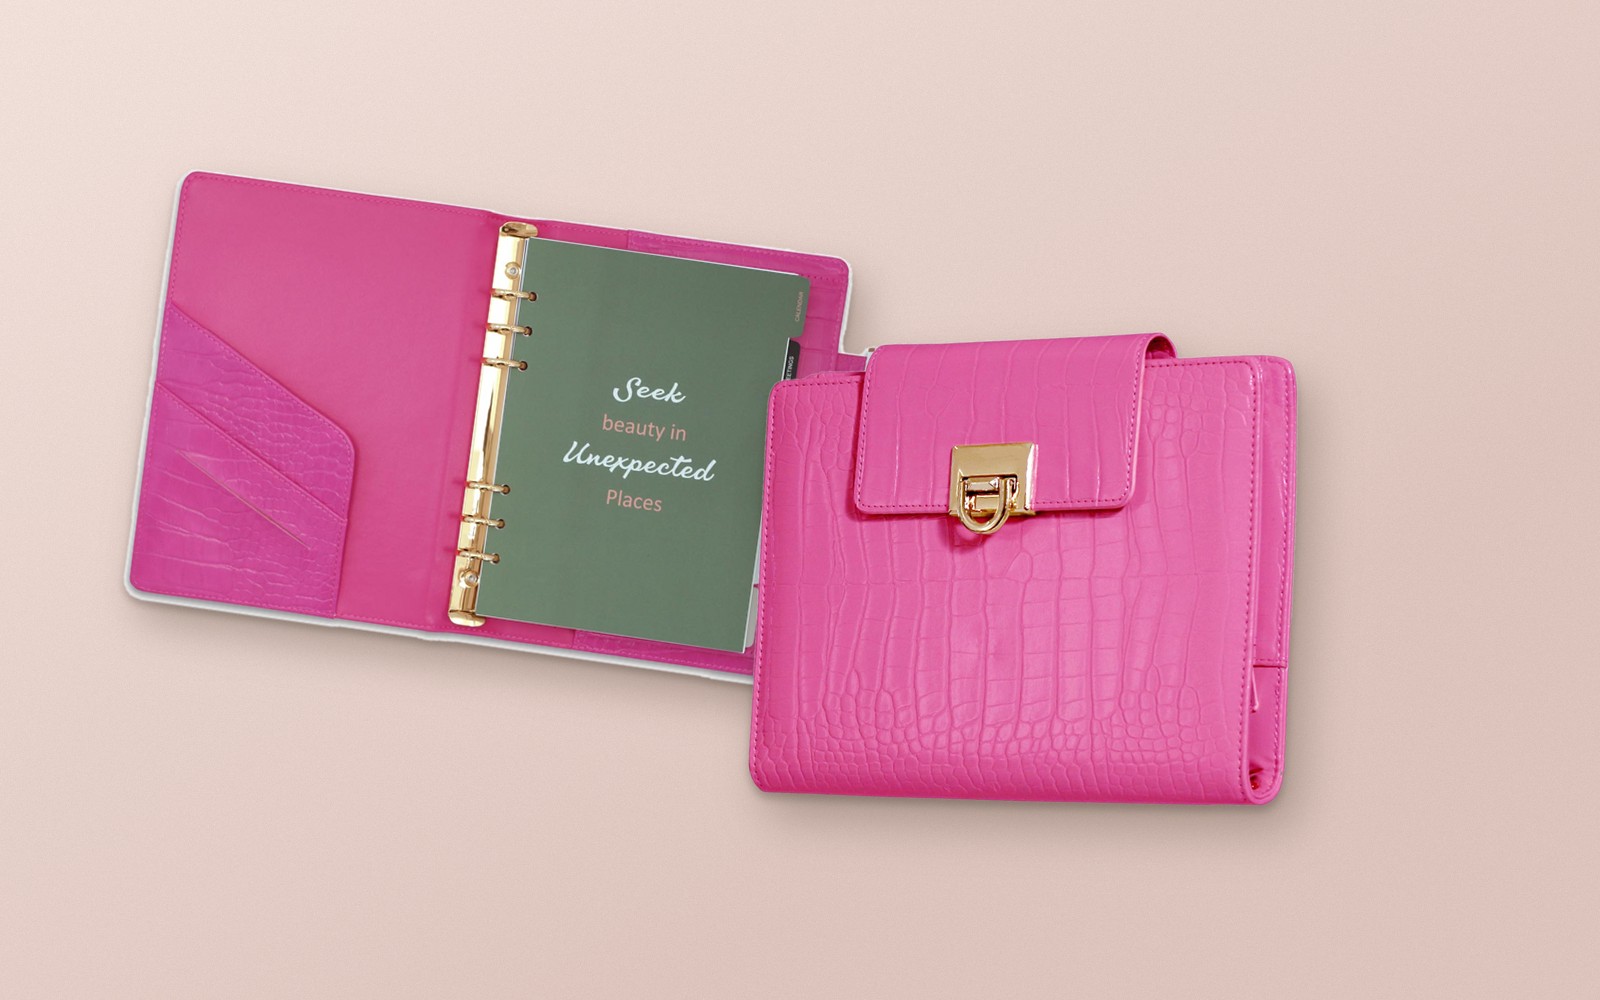
Style with a few props
- A cup of coffee or tea for a cozy feel.
- A favorite pen placed at an angle.
- Fresh flowers or a small plant for color.
- Sunglasses or a scarf for a fashion touch.
Two or three props are enough. The planner should remain the hero.
Try different angles
Flat lay: shoot directly from above with everything arranged neatly. 45 degrees: adds depth and shows the planner’s silhouette. In hand or on the go: a planner in a café or on your shoulder tells a lifestyle story, like the ideas in Capture Café Ideas Before They Fade.
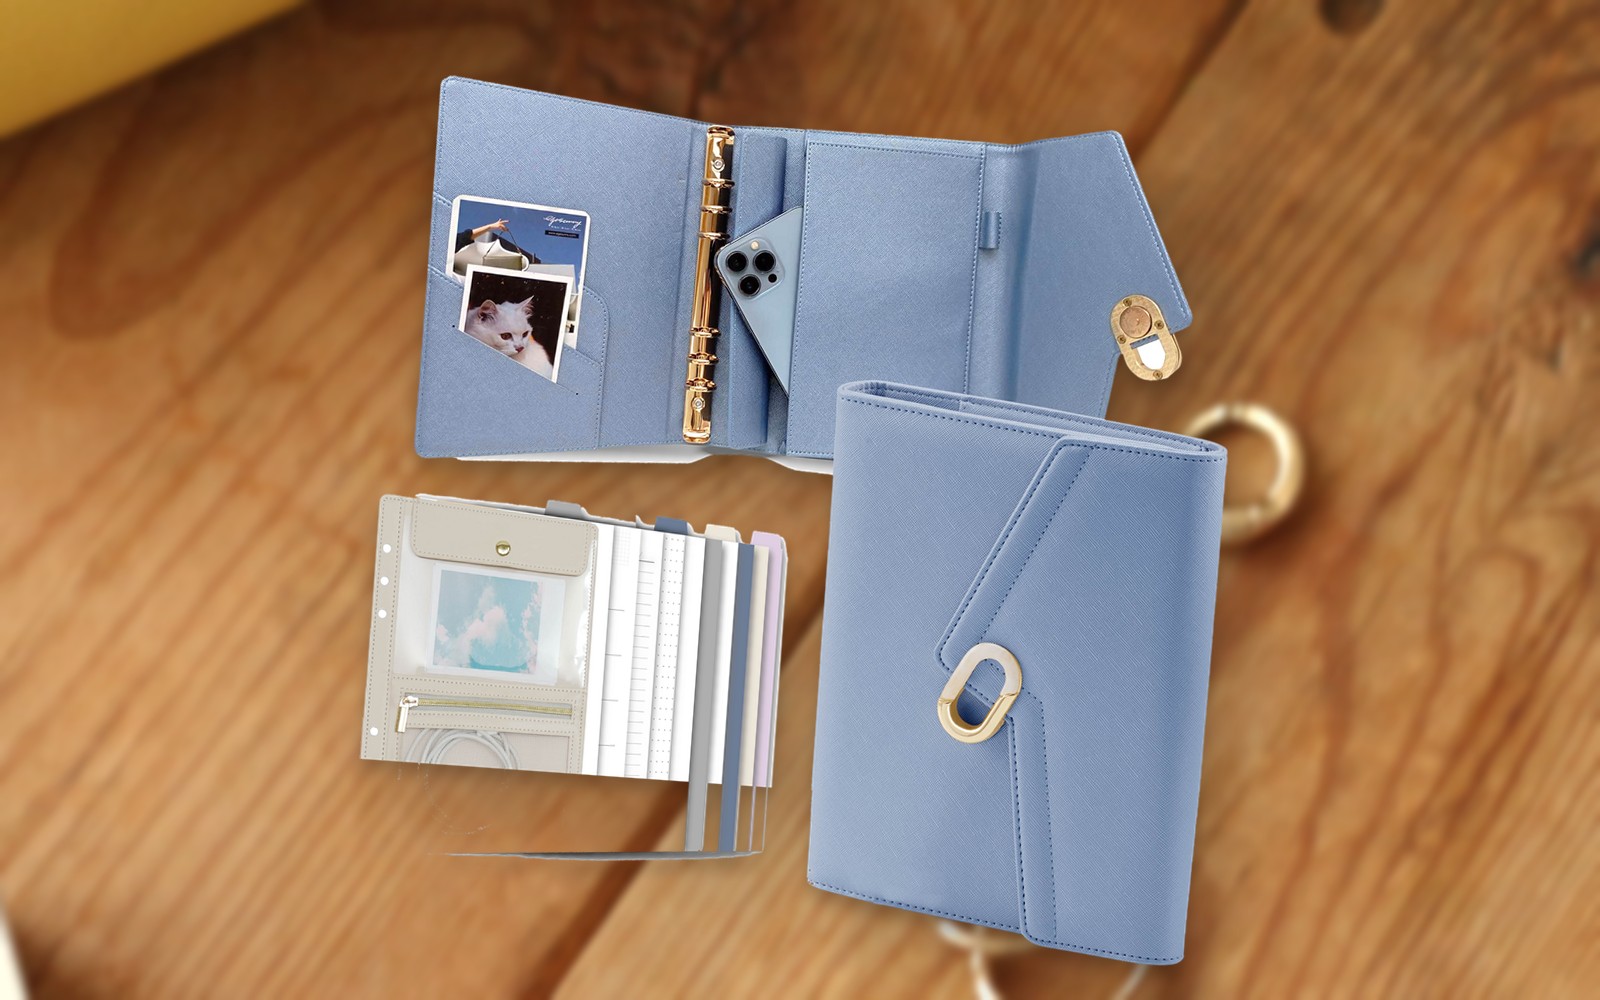
Protect your privacy
Before posting, check for names, addresses, phone numbers, work details and your daily schedule. Cover them with a pen or a sticky note, or photograph a clean page instead.
Make it yours
Your photos should look like your life. Match the mood to your planner’s personality — see the vibe guide — and your wardrobe style.
Simple editing tips
Keep edits light: straighten the frame, lift brightness slightly and keep colors true so the planner looks like it does in real life. Avoid heavy filters that change the color of the cover. Consistent, natural edits make a set of photos look calm and cohesive.
Where to find EGOSUNNY
Confirm the latest details on the official product page for your market before you buy — sizes, materials, page counts, accessories and colors can differ by version and region. Availability varies by marketplace and season; use the listing for your region for current options.
Good light, a simple scene and a planner you love.